Compiling The Linux Kernel From Source
Love at first sight.

Gratitude
It has been a while since I documented the things I was curious to explore. Unfortunately, I got rob a while after my last article. My entire android setup was gone. I had nothing. Long story short, There is good news. I’m grateful to God for it. I have a laptop now and I no longer need to hack on my tablet. I’m grateful for the wonderful gift from my father.
Now, we can go on even more ambituous adventures.
My Obsession With Linux
If you know me personally, there is one word you will consistently hear coming out of my mouth: Linux. My journey with Linux started back in 2017. I still remember the first distro I used: Linux Mint 17.3 Rosa. There was an RCE I discovered from grub back in the day. Having root shell access without entering a password. Of course, it got patched so even if I showed you, it won’t work.
Made Linux bootable without USB for use
Another interesting thing I did was to create a boot entry in grub with an ISO file without ever needing a bootable USB. It was an ambituous goal. I followed through with it because my friends said it was not possible. You don’t tell a child that it is not possible when their imagination is wild. Just for the pleasure to prove them wrong :). It took me close to 16 hours to figure it out. From late afternoon to the following morning. This is how it worked. I boot into it, I do whatever I want. When I shut down the machine, everything is gone. Sweet.
Window Managers & File Recovery
In university, I crashed my Linux (Fedora at the time). Let’s say, I thought the distro was bloat and wanted to see how many files in the root folder I can delete and get away with. I think I did something stupid. It only boots into a shell prompt (that is, the TTY for the nerds reading this). I could reinstall, or use a bootable USB to access the directory and back it up. There was a problem with both options.
- If I reinstalled, I kiss my files goodbye. That was not an option because I had final assignments to submit and an exams soon. Automatic no.
- If I use a bootable USB, I don’t have enough secondary storage to backup all my files. That also wasn’t an option.
In looking for a way, I stumbled on window managers.
Window managers are minimal environments to run your application. Every operating system has it, but Linux makes it more apparent. Another way to use Linux is via desktop environments. These are window managers + plenty stuff. In Linux language, Windows (which I don’t like) and Mac OS (which is not appealing to me) can be called desktop environments. They give you tools to manage things well. In window managers, you do it all yourself.
That was how I was able to have access and used the window manager for a year. Then I remembered that I could reinstall my distro by using a separate partition for /root (formatted) and /home (not formatted). I did that and it worked.
Using all major distributions
As a result of my happy accident and learning how to manually partition my hard disk for installation, I went on a distro hopping spree. I used every major linx distribution you could think off, all desktop environments in existence and a good number of window managers. Whether is a RHEL compatible distro like fedora and centos, or the king of stability, debian. Or is it the most loved and most hated at the same time? Yeah, Ubuntu. Or the ambituous Opensuse Tumbleweed? Or the friedly Zorin, Mint, and Elementary OS? Oh, then the gamers’ choice of Garuda, or Nobara? Or the new bridge of stability and bleeding edge, Fedora? Or the elite distro, Arch. I’ve used them all. I have crashed them all and I can use them as a power user without issues. Currently, I am using CachyOS. I wanted to have a feel of their custom kernel and experience the speed the community have been rumbling about. Compared to the original Arch, I think cachy’s advantage is more of the tools they make available rather than the kernel itself. Don’t get me wrong, the experience is great, but if you are a DYI person like myself, you won’t notice much of a difference: it saves you time. Time is valuable. Yeah, I sticking with CachyOS for the long ride.
A New Adventure
I want looking round for something to fill my boring day with and I paid a visit to the Linux Foundation Mentorship page. I found something that had to do with kernel development. I was like, okay… The first requirement is compiling torvald’s Linux source tree and booting into it. You know that thing where when you see it, you know it will be good even though you have no idea? Yeah. I found it.
I forgot about the Linux kernel mentorship page because the deadline had already passed, but the challengin of compiling the kernel and booting into it, that one, I’m not leaving it alone. I did my sweet google search to find out how others are compiling the kernel. There were a list of dependencies to install, I found out CachyOS had most already out of the box. That wasn’t a hastle. I just want to share what I found, and what I learnt when building the Linux kernel. Maybe, just maybe, I will walk the path of a kernel developer one day.
Compiling the Linux kernel
Of course, the first thing you need is a computer running Linux. These are my current specs:
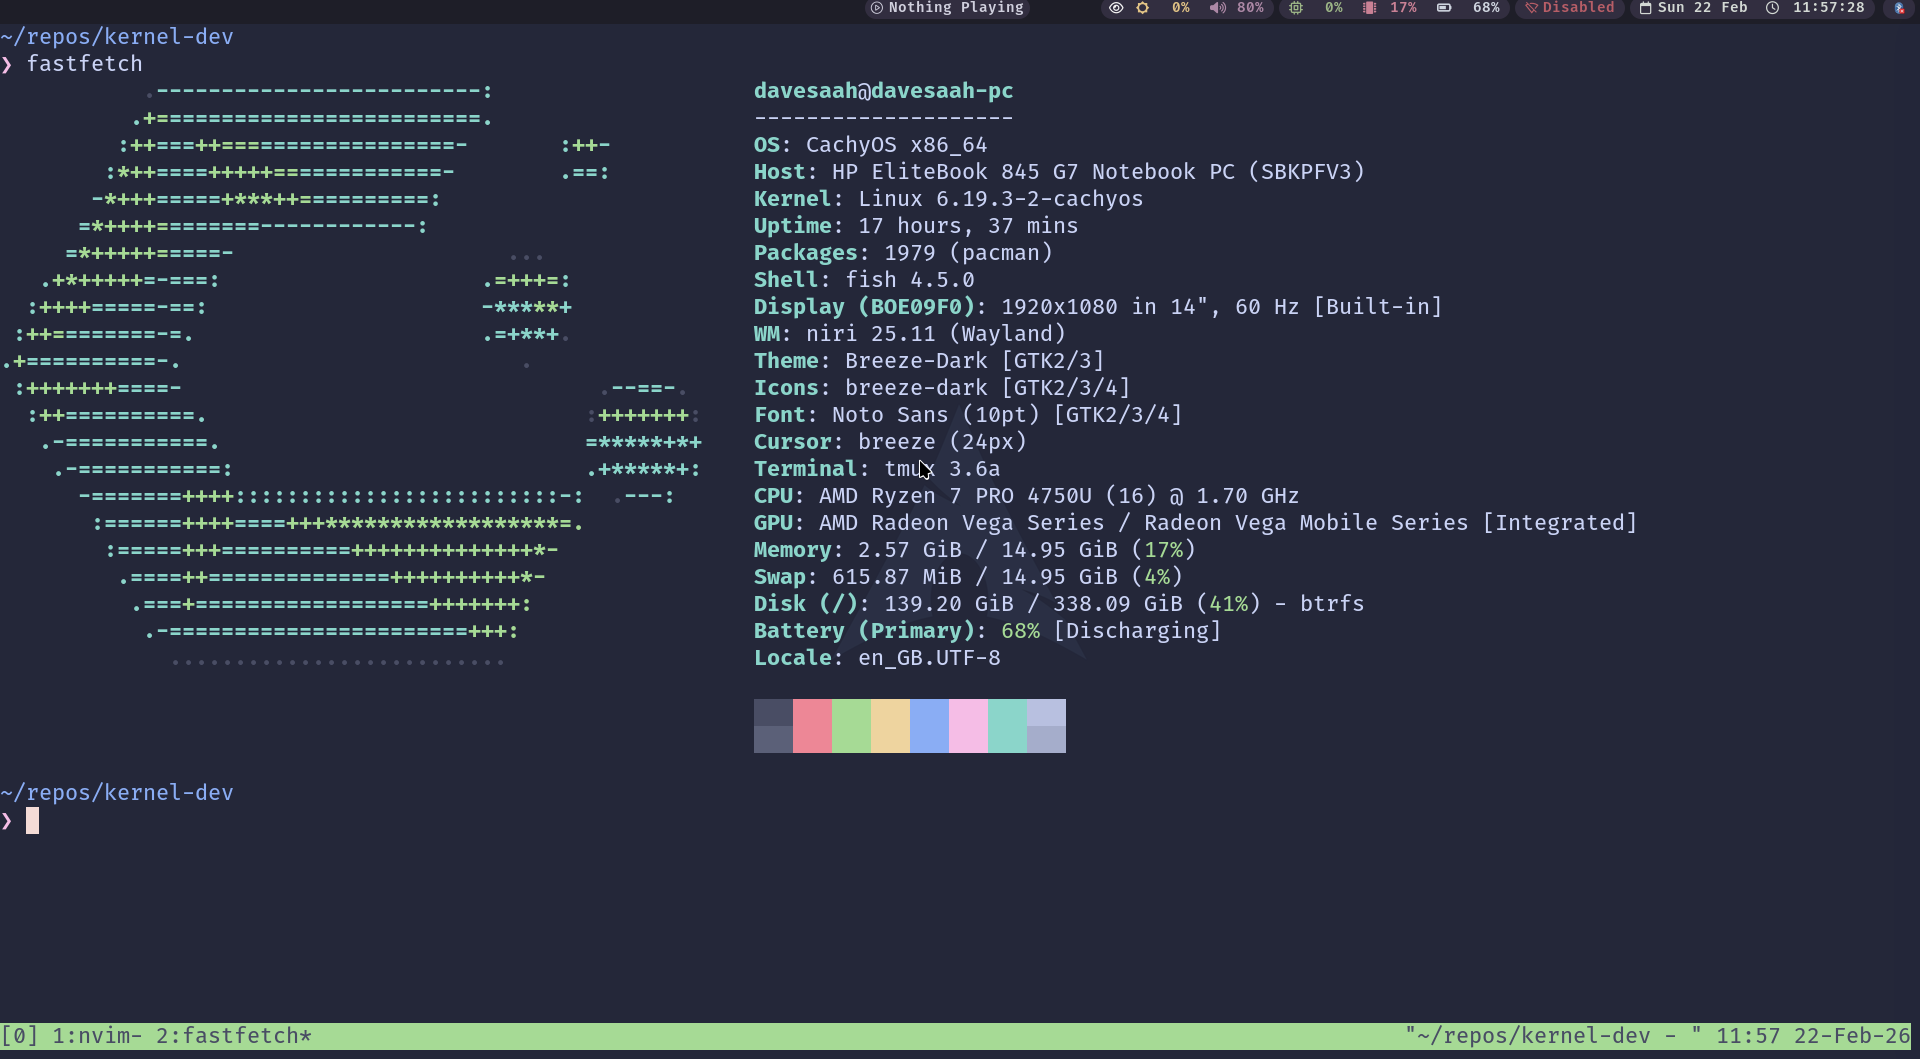 Screenshot of Fastfetch
We need to have access to the following:
- Linux source repo (to compile the kernel)
- Buildroot source repo (to compile a filesystem for the kernel to use)
- Qemu (to boot the kernel virtually)
- Make (the compilation tool for building both the kernel and buildroot)
Packages to install
- git
- base-devel
- bc
- libelf
- pahole
- cpio
- perl
- tar
- xz
- ncurses
- qt6-base
- pkgconf
- qemu-full
- virt-manager
- dnsmasq
- bridge-utils
- gdb
- sparse
Building & Booting Into The Kernel
I choose to create a directory workspace to keep things clean and centralised.
1
2
mkdir -p ~/repos/kernel-dev/
cd ~/repos/kernel-dev/
Then we clone the kernel from Linus’ source tree.
1
2
git clone http://git.kernel.org/pub/scm/linux/kernel/git/torvalds/linux.git --depth 1
cd linux
There are different build options when compiling the kernel. One of these days, I will go through every single one of them, learn what they do, and what their impact are. One thing I learned is that the kernel is designed like lego bricks. I don’t know if that is a good analogy. Maybe if I say modular, then it makes more sense. The reason I did not use modular to describe it is because the definition the new generation give to the term is falls short of the bar the kernel design has set. Back to lego bricks. You can piece different things together, remove some, add some, update some and it works. Torvalds and the kernel dev team are like, these are all the things you can do, choose what you want. I like that.
Back to compiling the kernel. Now, we need to load a config to set the features we want in our kernel. We don’t want a kernel driver for all the devices on earth, only the ones we need. However, there are some sensible defaults that the selected to get started with. I also discovered that you can also load the config of your current linux kernel to compile the new one. That includes the modules and drivers. Here is the command to do that.
1
make localmodconfig
If you want to see all the available options, use this command:
1
make menuconfig
Now, we compile the kernel, leveraging all the CPU cores available.
1
make -j$(nproc)
Depending on your hardware, it can take longer or shorter time to compile.
Compiling Buildroot
Right now, our kernel is ready to be used. Use this command to test it:
1
2
3
qemu-system-x86_64 -enable-kvm -kernel arch/x86/boot/bzImage \
              -append "console=ttyS0 root=/dev/sda1" \
              -m 2G -serial stdio
You will notice a kernel panic like this one.
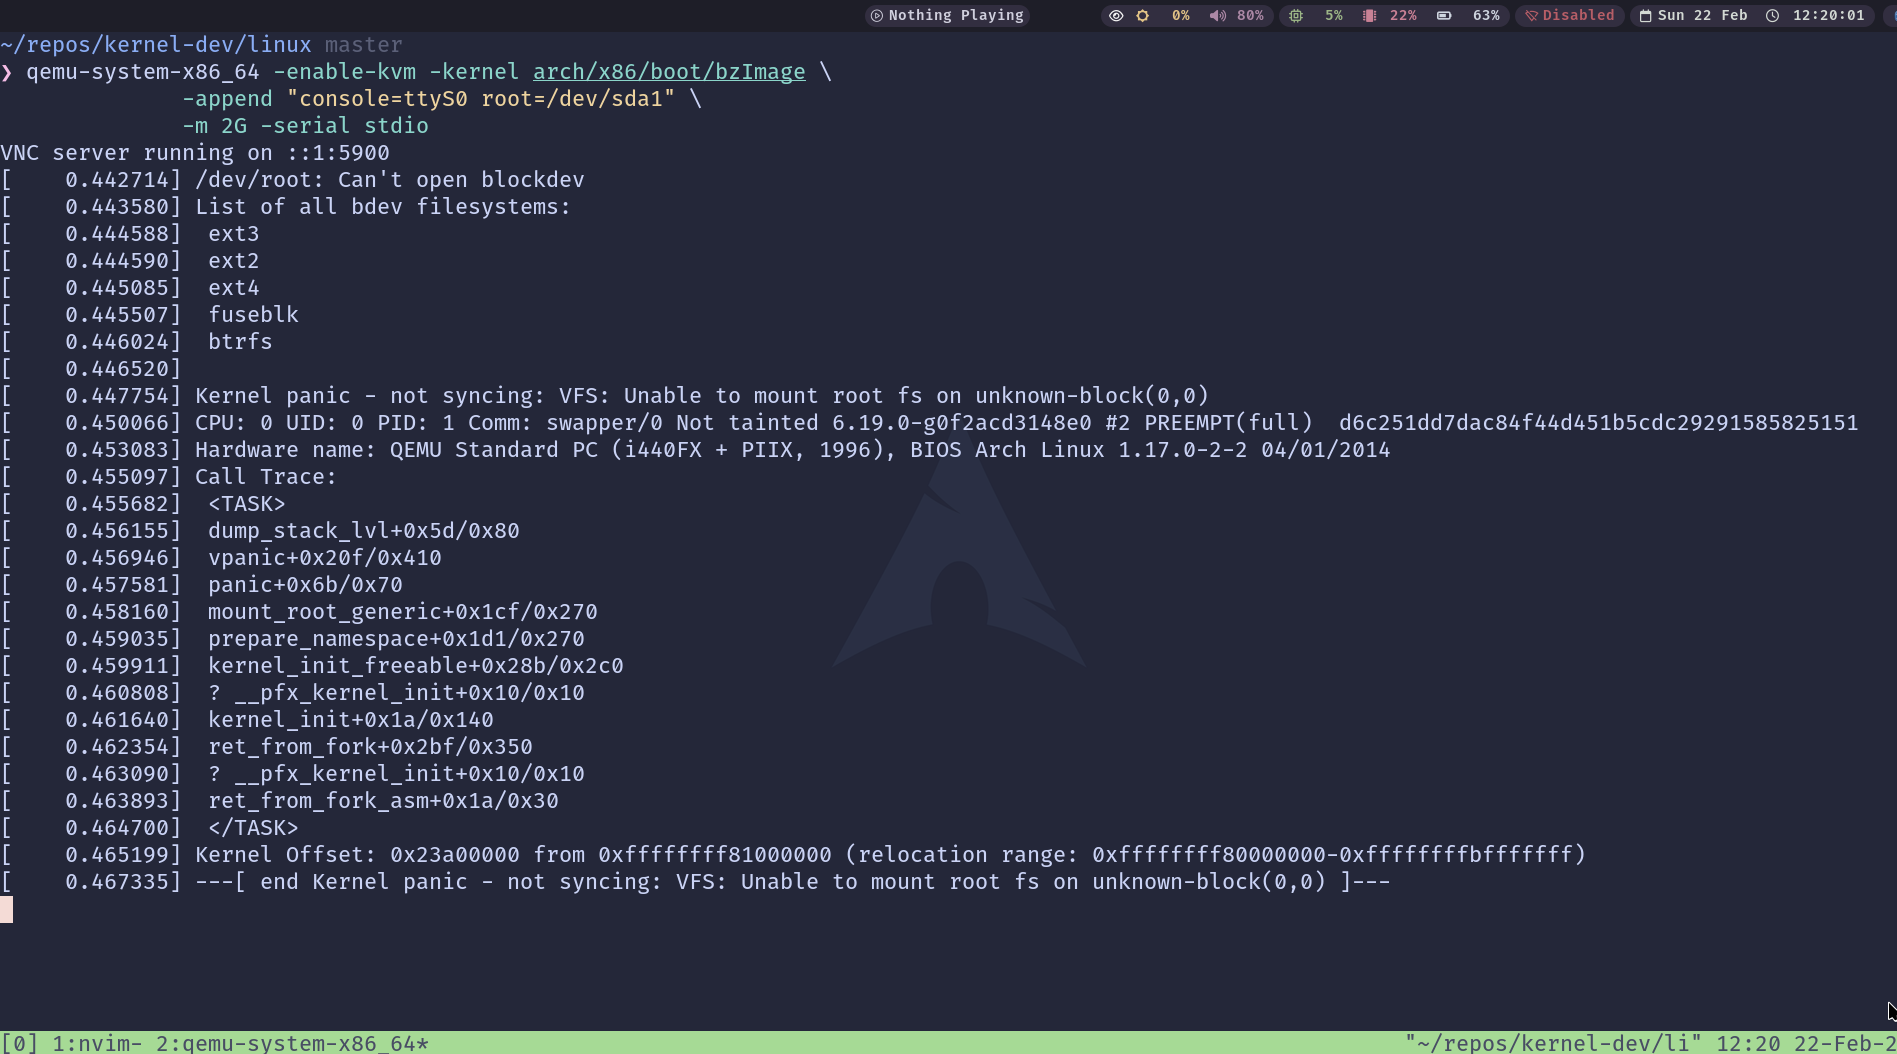 Kernel Panic Screenshot
You did nothing wrong, the issue is that there is no filesystem for the kernel to work with. Good news, buildroot provides that for us. Let’s prepare it.
First, we clone the repo.
1
2
3
cd ~/repos/kernel-dev/
git clone git://git.buildroot.net/buildroot --depth 1
cd buildroot
We need to make some changes. First, we need to pick our system architecture (mine and yours) are probably x86. Whichever one you use, you’re covered. Use the command below to select the config options for the compilation.
1
make menuconfig
You will be met with this menu:
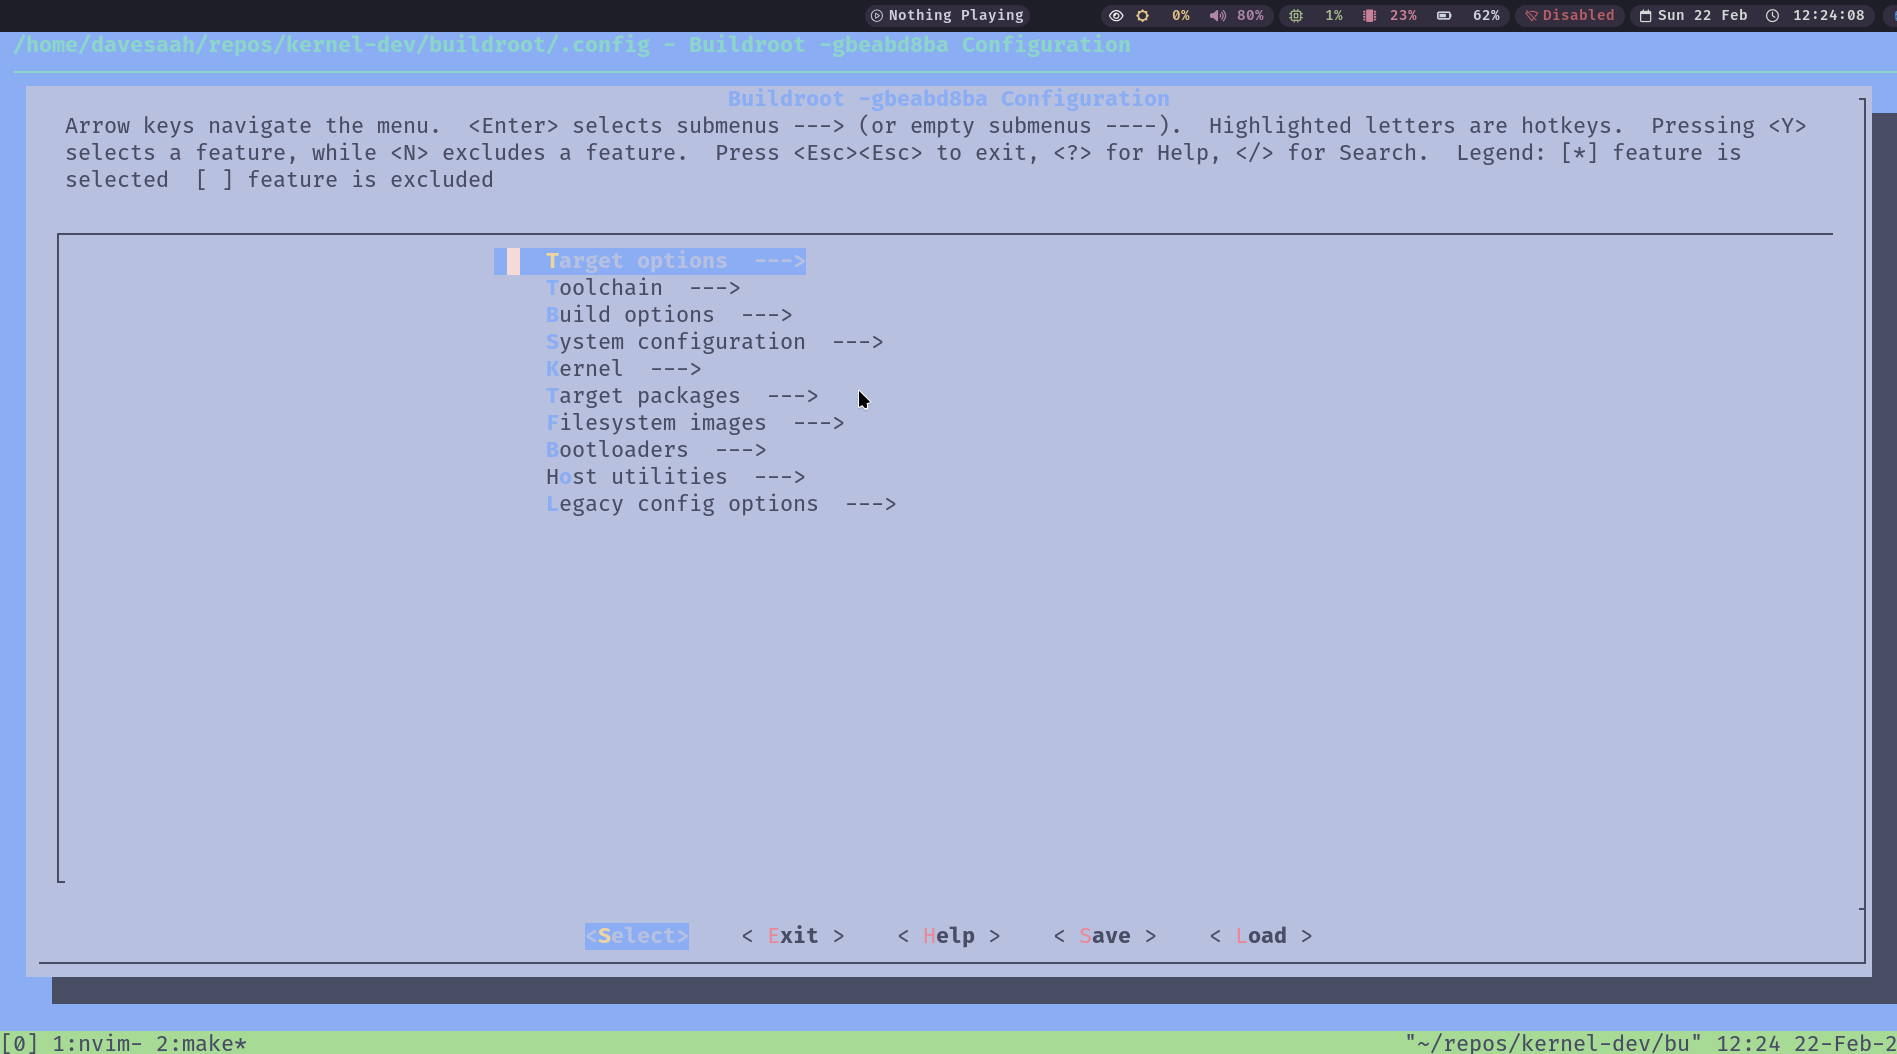 buildroot menu config
I will give you instructions relative to the main menu screen above. I don’t want to clutter the document with screenshots. Besides, I want you to explore as well.
- Pick your architecture:
- Target Options > Target Architecture > [Make a choice].
Trace your steps back to the main menu in the screenshot.
- Pick your file system:
- Filesystem images > [Pick your filesystem].
- I normally go with ext filesystems.
Trace your steps back to the main menu. Save and Exit.
Now, let’s compile.
1
make -j$(nproc)
The duration will depend on your hardware.
When it is done, we can boot into our custom kernel with a filesystem and GNU Shell utilities (ls, cp, etc.). If you explored the buildroot menuconfig, you will notice some default options. One of them is busybox (that gives us the GNU Utils).
1
2
# go to the root of the kernel dev workspace
cd ~/repos/kernel-dev/
Let us boot our custom kernel and specify our root filesystem.
1
2
3
4
5
6
# run the kernel in a vm and specify the root filesystem
qemu-system-x86_64 -enable-kvm \
        -kernel linux/arch/x86/boot/bzImage \
        -drive file=buildroot/output/images/rootfs.ext2,format=raw,if=virtio \
        -append "console=ttyS0 root=/dev/vda rw" \
        -m 512M -serial stdio -display none
There you have it. You are running the linux kernel you compiled with the filesystem you compiled. Feels good.
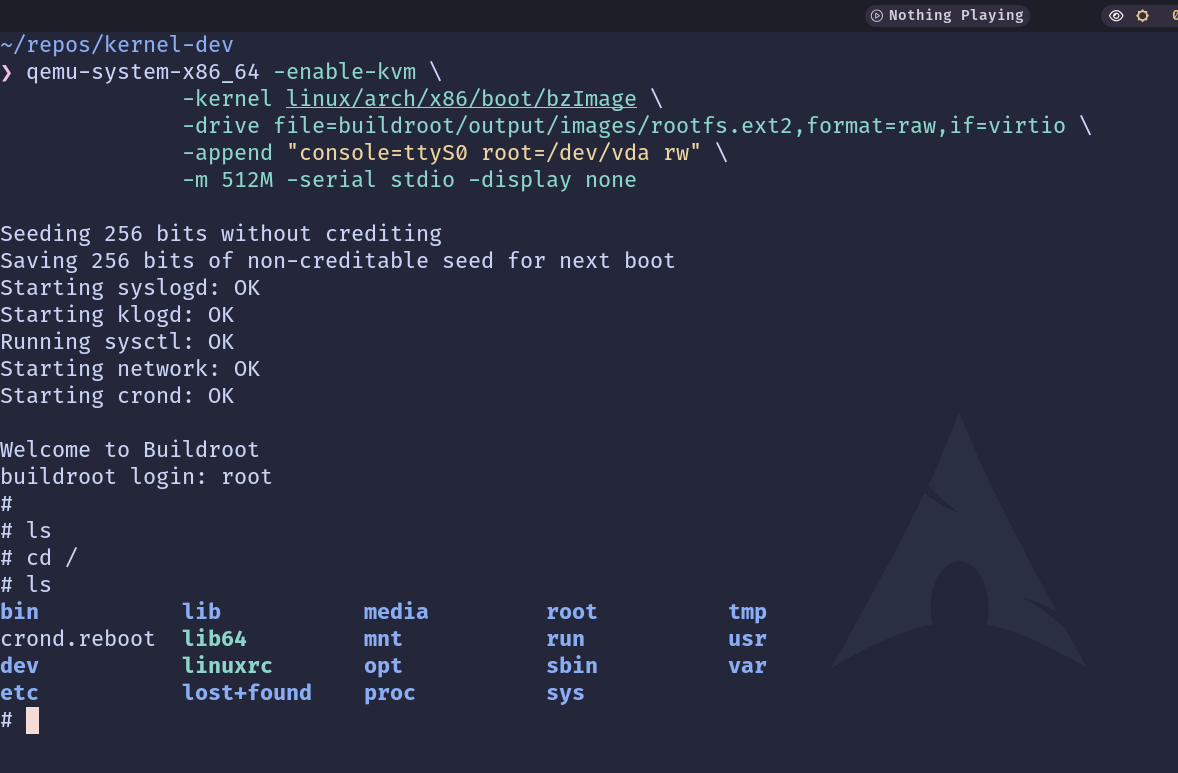 Custom Kernel Running
Concluding Thoughts
I am going to entertain the thoughts of doing kernel development. But yeah, it is fun. Many fun explorations are on the way…